Hello Every One ,
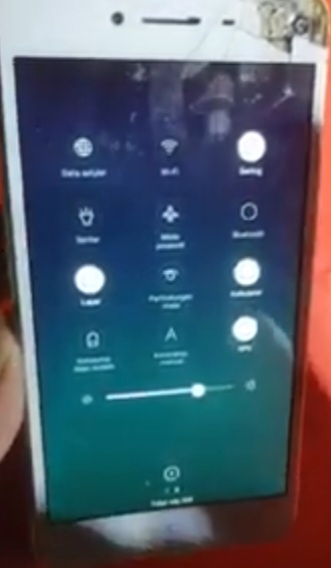
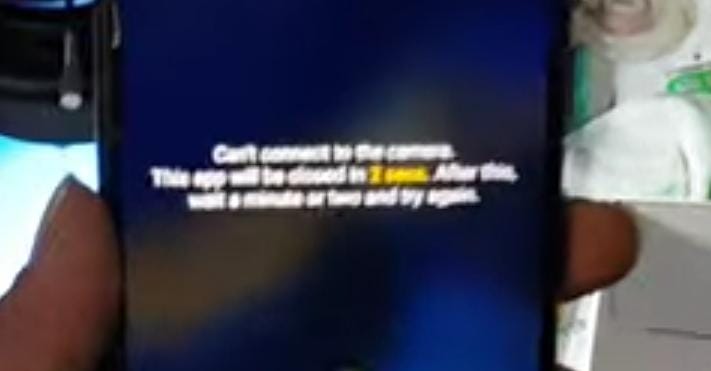
This is Poco X3 mobile. The customer brought the mobile to our shop. The technician asked the customer what is the problem.He said that if the mobile front camera is turned on, an error warning will appear and it will go back.The technician received the mobile and told the customer that i will repair the mobile.

𝙽𝚘𝚠 𝙻𝚎𝚝’𝚜 𝚃𝚛𝚘𝚞𝚋𝚕𝚎 𝚂𝚑𝚘𝚘𝚝 𝚃𝚑𝚒𝚜 𝙼𝚘𝚋𝚒𝚕𝚎 𝚆𝚒𝚝𝚑 𝙳.𝚂.𝙾.
- First open the mobile back panel.
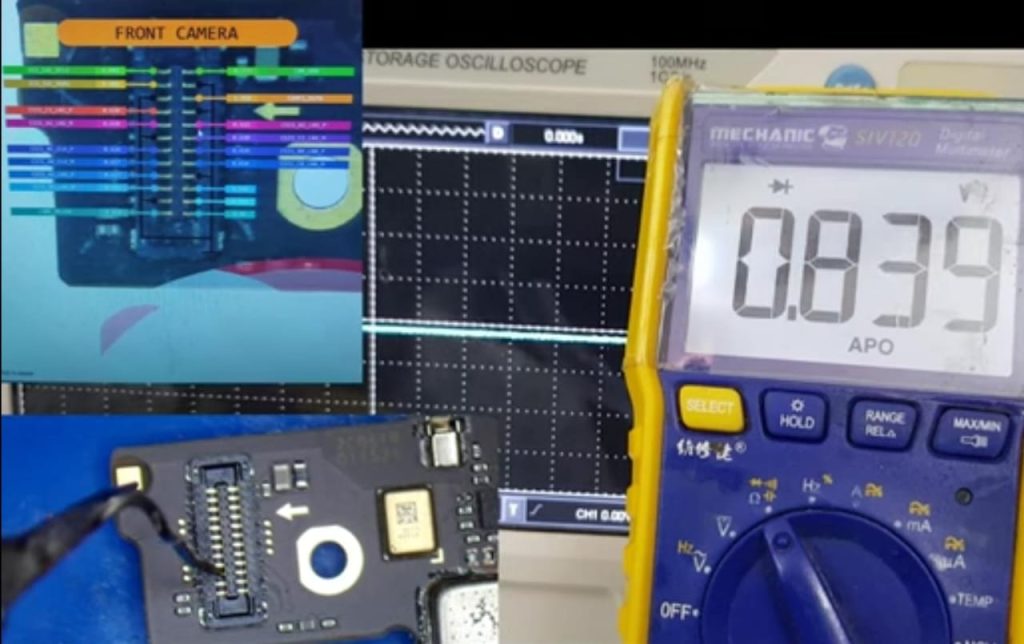
- First we need to measure the Gr( ground resistance ) value on the pins on the camera connector with a multimeter.Then check the signals with Dso.
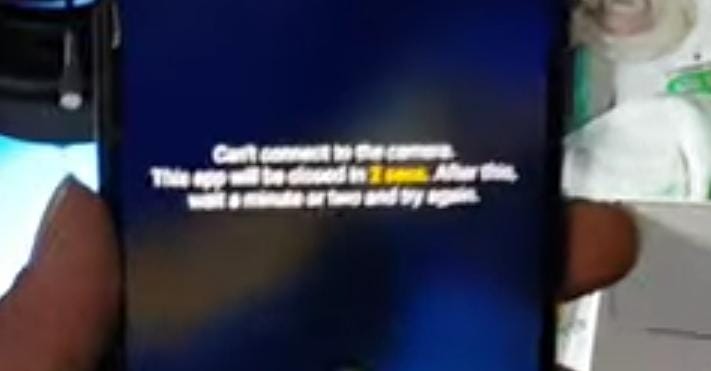
- If you turn on the mobile and open the camera, the back camera will open. If you open the front camera, you get an error warning and then it goes back.
- Separate the board from the mobile.Open the Borneo schematic in the system.
- Open it and see what lines are on the camera connector. Go to the camera connector on the board
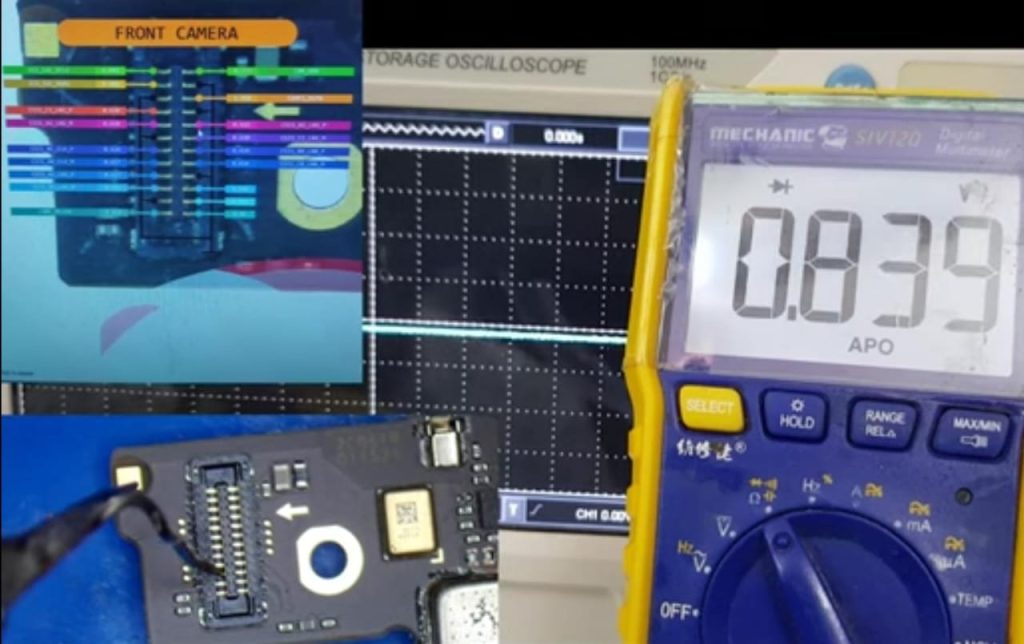
- Check the Gr value with the help of a multimeter on the camera connector on the board.
- Check the gr value of each pin.
- Check the gr value of all the pins as shown in the Borneo schematic.
- Also check the Gr value on the pins on the other side of the connector.
- On the other side of the pins, gr value does not come on the 3rd pin.OL comes on the third pin.
- OL means the line is open.
- What is the name of that third pin which is the camera reset line.
- All the other lines will get the gr value.
- This camera reset line comes from cpu.
𝓝𝓸𝔀 𝓛𝓮𝓽 𝓤𝓼 𝓢𝓮𝓮 𝓗𝓸𝔀 𝓣𝓸 𝓒𝓱𝓮𝓬𝓴 𝓢𝓲𝓰𝓷𝓪𝓵𝓼 𝓦𝓲𝓽𝓱 𝓓𝓢𝓞 :
- Dso Mission has one like a clip.Connect that clip to the ground of your board.
- Also Dso has something like a pin. Wherever we are checking it, you have to put that pin and check it.
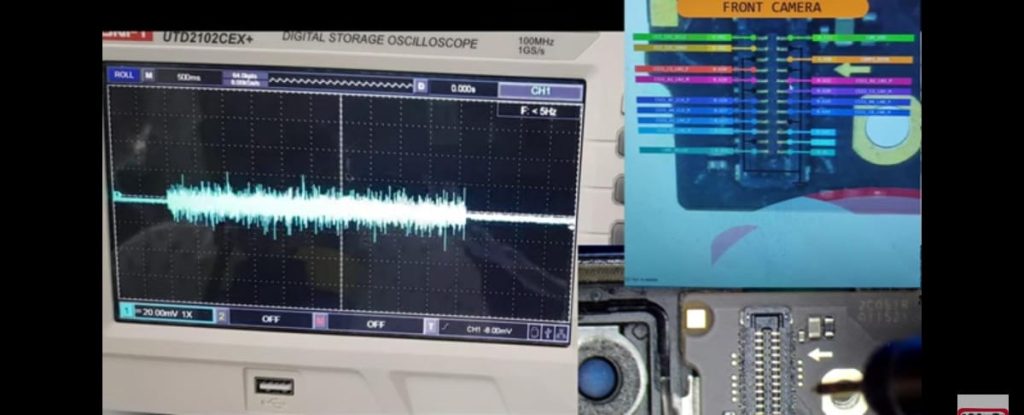
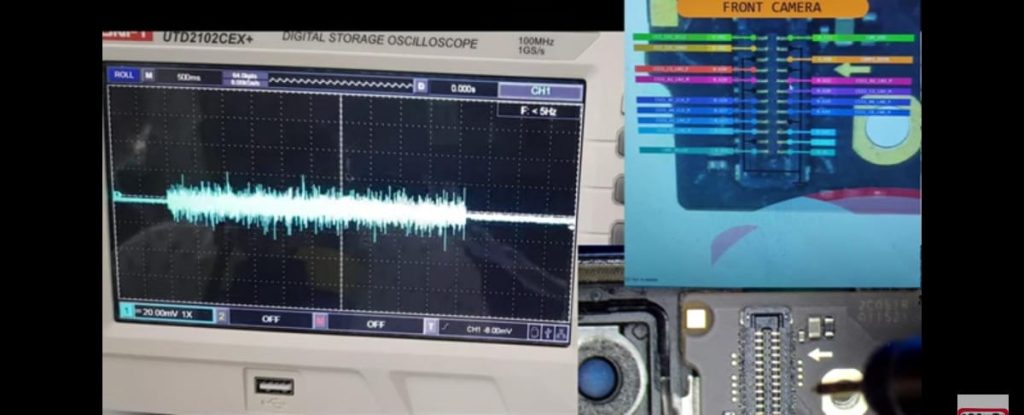
- Graph and frequency are coming in Dso. Depending on them it is known whether the signals are coming or not.
Krish Mobile Training Institute
- Check the signal in Dso on each pin on the camera connector.
- A signal comes on some pins. The frequency comes in 2x and 4x respectively. If the frequency comes in that means they are mipi lines.
- Sometimes there are fake signals in Dso. We have to find them out.
- On some pins the graph comes but the frequency does not come. Also on camera reset pin the graph comes but the frequency does not come.
- If the graph and frequency are both correct then the line is ok.
- So what is the solution for this i.e. this camera reset line comes from cpu so if cpu reball and refix this problem will be solved.
- So let’s see cpu reball and refix now.
ℕ𝕠𝕨 𝕃𝕖𝕥'𝕤 ℝ𝕖𝕓𝕒𝕝𝕝 ℂ𝕡𝕦 𝔸𝕟𝕕 𝕄𝕒𝕜𝕖 𝕒 ℝ𝕖𝕗𝕚𝕩 :
- Now Let’s Do If We Are Cpu Reball.
- First Let’s Take The Cpu Stencil.Take The Stencil And Put It On The Cpu.
- The Stencil Should Be Placed On The Cpu And Kept Still.
- After Keeping It Like That, Apply A Little Ppd Paste.
- Heat With A Quick 857 Dw+ Blower After Applying The Ppd Paste.
- The Balls Inside Are Ready.If The Balls Do Not Come Out Properly Then Again Apply Ppd Paste On The Stencil And Heat It With Blower.
- A Few Balls Will Fall On Top Of The Stencil. They Should Be Cut With A Surgical Blade.
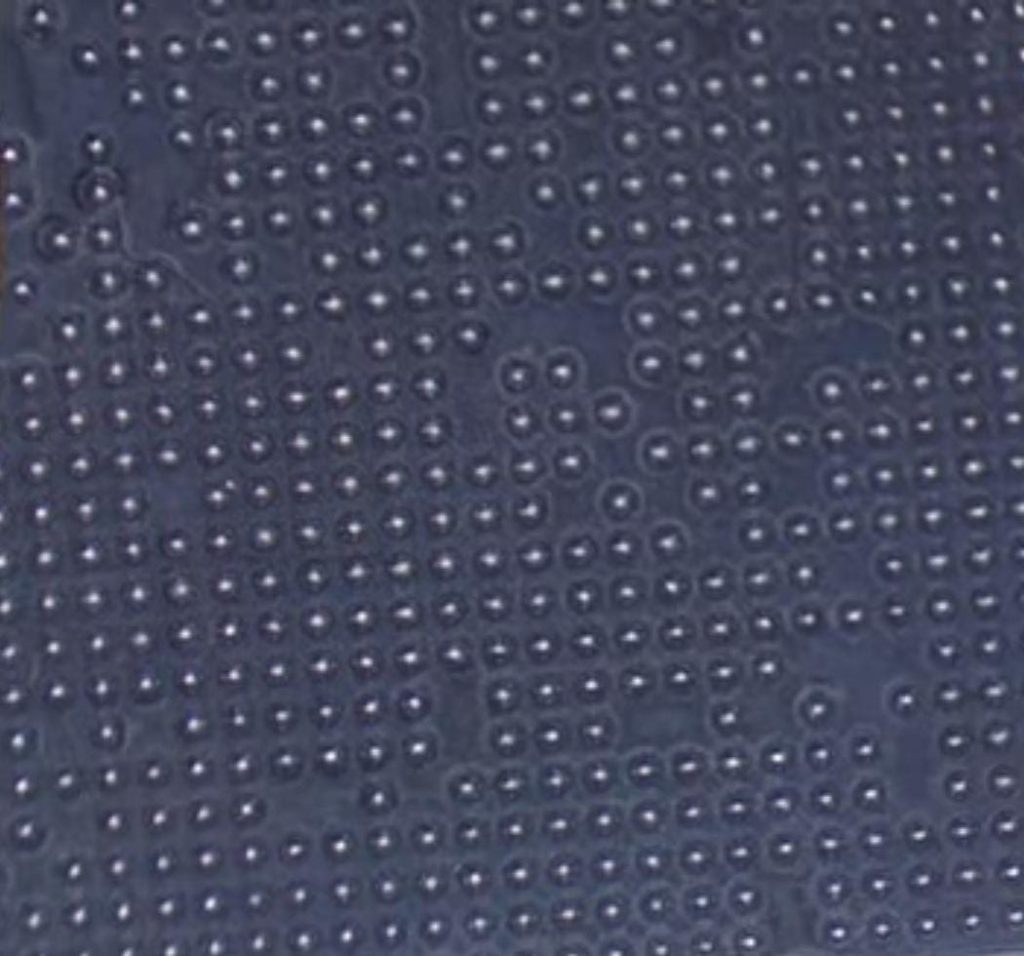
- Then Heat Again With Blower.After Confirming That All The BallsHave Arrived Correctly, Remove The Stencil Slowly.
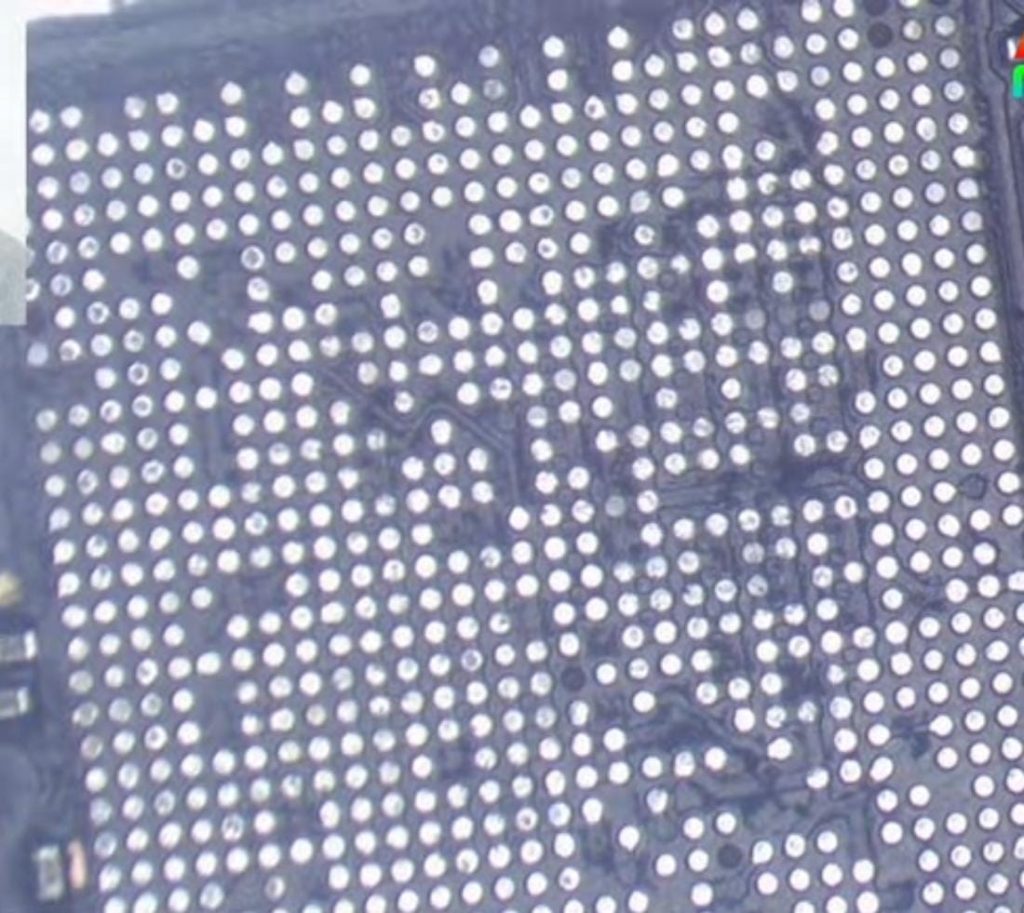
- Cpu Reball Is Over.
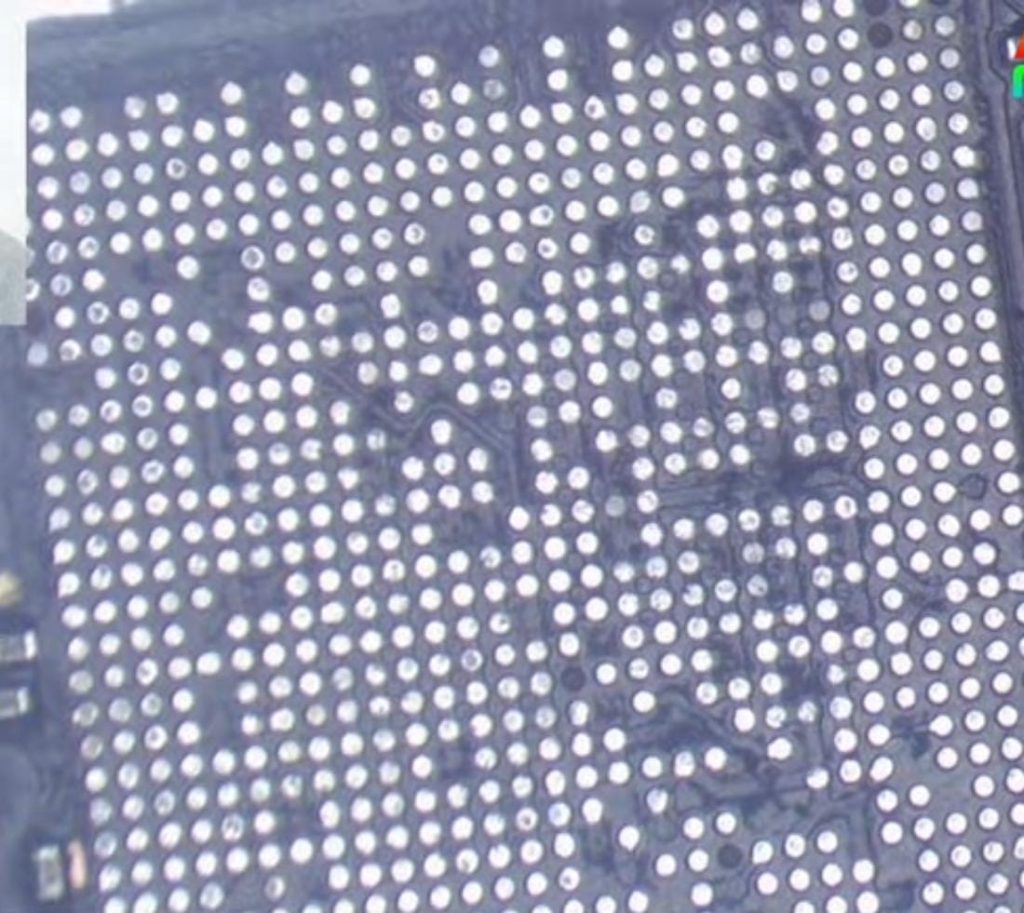
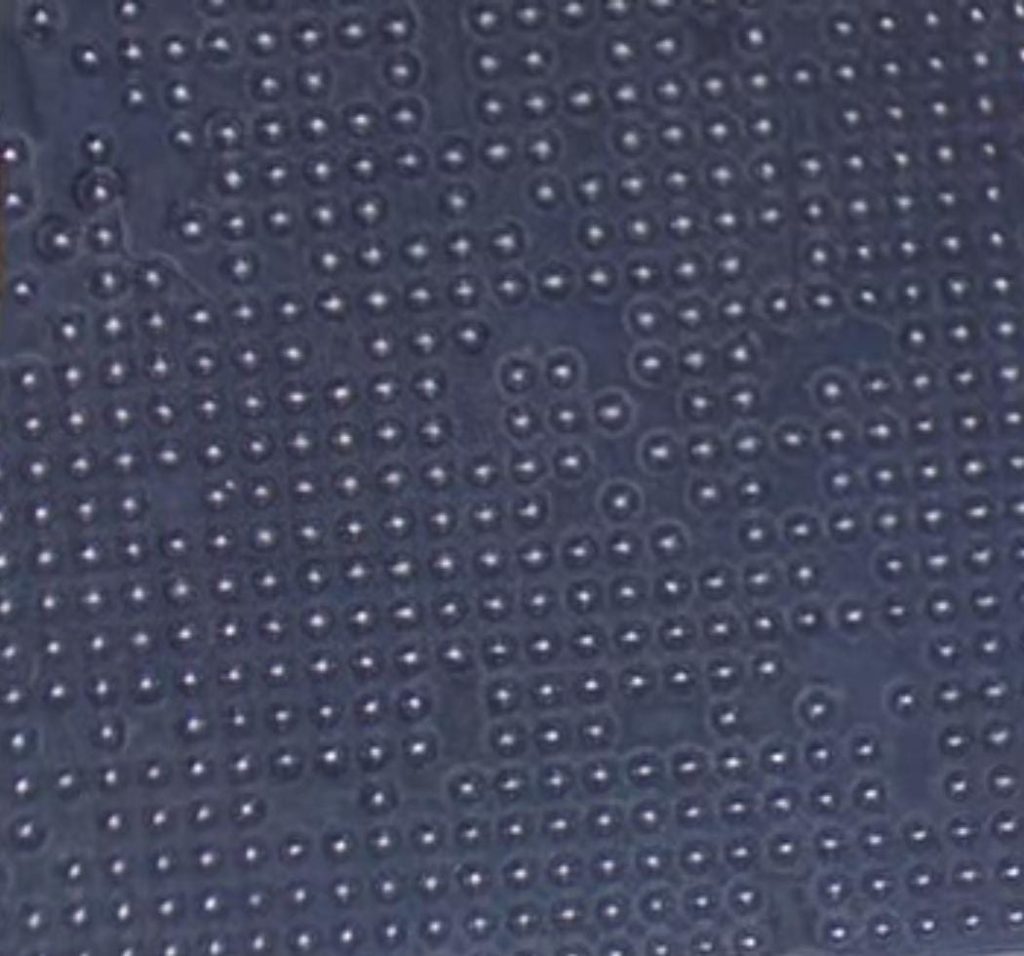
- Now Let’s Fix The Cpu To The Board.
- Add Flex Paste On Top Of Cpu Pad And Heat It With Blower.
- The Cpu Should Be Placed On The Cpu Pad Facing The Direction One.
- Add Some Flex Paste On Top Of The Cpu And Heat It With A Blower Quick 857 Dw+ .
- Cpu Should Move And Set The Same.
- If It Is Set Like That, It Means That The Cpu Is Sitting.
- Cpu Refix Is Over.
- Now Let’s Connect The Board To The Mobile And Connect The USB Cable And See If The Mobile Turns On Or Not .
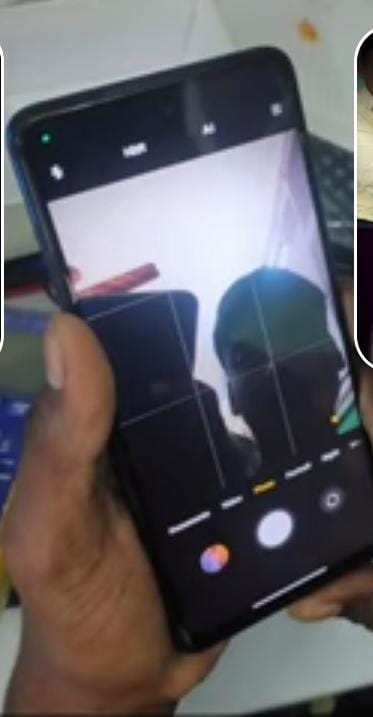
- Mobile Turned On Successfully.
- Now let’s check if the front camera turns on.
- Successfully the front camera is opened.
- Customer Is Happy.
Video Link Is Given In The Below :
https://youtu.be/GyMt6686VIA?si=guJepx7y9DzrdTH3
Thank you by team K.M.T.
POCO X3 FRONT CAMERA ISSUE TROUBLE SHOOT WITH D.S.O. BY TEAM K.M.T.
అందరికి నమస్కారం ,
ఇది Poco X3 మొబైల్. కస్టమర్ మొబైల్ మా షాపుకి తీసుకొచ్చాడు. టెక్నీషియన్ సమస్య ఏమిటని కస్టమర్ని అడిగాడు.మొబైల్ ఫ్రంట్ కెమెరా ఆన్ చేస్తే ఎర్రర్ వార్నింగ్ వస్తుందని, అది వెనక్కి వెళ్లిపోతుందని చెప్పాడు.టెక్నీషియన్ మొబైల్ అందుకుని నేను మొబైల్ రిపేర్ చేస్తానని కస్టమర్కి చెప్పాడు.

ఇప్పుడు ఈ మొబైల్ d.s.o ట్రబుల్ ఘాట్ చేద్దాము రండి:
- ముందుగా మొబైల్ బ్యాక్ ప్యానెల్ ఓపెన్ చేయండి.
- ముందుగా మనం మల్టిమీటర్తో కెమెరా కనెక్టర్లోని పిన్స్పై Gr(గ్రౌండ్ రెసిస్టెన్స్) వాల్యూ ను చెక్ చేయాలి . తర్వాత Dsoతో సిగ్నల్లను చెక్ చేయండి.
- మొబైల్ ఆన్ చేసి కెమెరా ఓపెన్ చేస్తే బ్యాక్ కెమెరా ఓపెన్ అవుతుంది. మీరు ఫ్రంట్ కెమెరాను తెరిస్తే, మీకు ఎర్రర్ వార్నింగ్ వచ్చి మరియు అది మళ్ళీవెనక్కి వెళ్తుంది.
- మొబైల్ నుండి బోర్డుని వేరు చేయండి. సిస్టమ్లో బోర్నియో స్కీమాటిక్ని తెరవండి.
- దాన్ని తెరిచి, కెమెరా కనెక్టర్లో ఏ ఏ లైన్స్ ఉన్నాయో చూడండి. బోర్డ్లోని కెమెరా కనెక్టర్ దగ్గరకి వెళ్లండి
- బోర్డ్లోని కెమెరా కనెక్టర్పై మల్టీమీటర్ సహాయంతో Gr వాల్యూ ను చెక్ చేయండి.
- ప్రతి పిన్ యొక్క grవాల్యూ ను తనిఖీ చేయండి.
- బోర్నియో స్కీమాటిక్లో చూపిన విధంగా అన్ని పిన్ల gr వాల్యూను చెక్ చేయండి.
- కనెక్టర్ యొక్క మరొక వైపున ఉన్న పిన్లపై Grవాల్యూను కూడా చెక్ చేయండి.
- పిన్లకు మరో వైపు, 3వ పిన్పై gr వాల్యూ రాదు.మూడవ పిన్పై OL వస్తుంది.
- OL అంటే లైన్ ఓపెన్ అయ్యింది అని అర్థం .
- ఆ మూడవ పిన్ పేరు ఏమిటి అంటే కెమెరా రీసెట్ లైన్ .
- అన్ని మిగతా లైన్స్ పైన gr వాల్యూస్ వస్తుంది
- ఈ కెమెరా రీసెట్ అనే లైన్ cpu నుండి వచ్చింది.
ఇప్పుడు d.s.o తో సిగ్నల్లను ఎలా చెక్ చేయాలో చూద్దాము రండి :
- Dso మిషన్లో క్లిప్ లాంటిది ఉంది. ఆ క్లిప్ను మీ బోర్డు యొక్క గ్రౌండ్కి కనెక్ట్ చేయండి.
- అలాగే Dsoకి పిన్ లాంటిది ఉంటుంది. ఎక్కడ చెక్ చేస్తున్నామో ఆ పిన్ వేసి చెక్ చేసుకోవాలి.
- Dso లో గ్రాఫ్ మరియు ఫ్రీక్వెన్సీ వస్తున్నాయి. వాటిని బట్టి సిగ్నల్స్ వస్తున్నాయా లేదా అనేది తెలుస్తుంది.
- కెమెరా కనెక్టర్లోని ప్రతి పిన్పై Dsoలోని సిగ్నల్ని చెక్ చేయండి.
- కొన్ని పిన్లపై సిగ్నల్ వస్తుంది. ఫ్రీక్వెన్సీ వరుసగా 2khz మరియు 4 khz లో వస్తుంది. ఇలాంటి low ఫ్రీక్వెన్సీ వస్తే అవి mipi లైన్లు అని అర్థం.
- కొన్నిసార్లు Dso లో ఫేక్ సిగ్నల్స్ వస్తాయి . వాటిని మనం కనుక్కోవాలి.
- కొన్ని పిన్స్లో గ్రాఫ్ వస్తుంది కానీ ఫ్రీక్వెన్సీ రావట్లేదు. అలాగే కెమెరా రీసెట్ పిన్లో గ్రాఫ్ వస్తుంది కానీ ఫ్రీక్వెన్సీ రాలేదు.
- గ్రాఫ్ మరియు ఫ్రీక్వెన్సీ రెండూ సరిగ్గా ఉంటేనే లైన్ ok ఉంది అని అర్థం.
- కాబట్టి దీనికి పరిష్కారం ఏమిటి అంటే ఈ కెమెరా రీసెట్ లైన్ cpu నుండి వస్తుంది కాబట్టి cpu రీబాల్ చేసి రీఫిక్స్ చేస్తే ఈ సమస్య పరిష్కరించబడుతుంది.
- కాబట్టి ఇప్పుడు cpu రీబాల్ మరియు రీఫిక్స్ చూద్దాం రండి .
ఇప్పుడు మనం cpu ని reball మరియు refix చేసి చూద్దాము రండి :
- ఇప్పుడు మనం Cpu రీబాల్ అయితే చేసి చూద్దాము .
- ముందుగా Cpu స్టెన్సిల్ను తీసుకుందాం. స్టెన్సిల్ని తీసుకొని Cpu మీద ఉంచండి.
- స్టెన్సిల్ను Cpuపై ఉంచి అలాగే ఉంచాలి.
- అలా ఉంచిన తర్వాత, కొద్దిగా Ppd పేస్ట్ అప్లై చేయండి.
- Ppd పేస్ట్ని అప్లై చేసిన తర్వాత quick 857 Dw+ బ్లోవర్తో వేడి చేయండి.
- లోపల balls సిద్ధంగా ఉన్నాయి. balls సరిగ్గా రాకపోతే, స్టెన్సిల్పై Ppd పేస్ట్ను మళ్లీ అప్లై చేసి, బ్లోవర్తో హీట్ చేయండి.
- స్టెన్సిల్ పైన కొన్ని balls వస్తాయి. వాటిని సర్జికల్ బ్లేడ్తో కట్ చేయాలి .
- తర్వాత బ్లోవర్తో మళ్లీహీట్ చేయండి. అన్ని balls సరిగ్గా వచ్చాయని నిర్ధారించిన తర్వాత, స్టెన్సిల్ను నెమ్మదిగా తొలగించండి.
- Cpu రీబాల్ ముగిసింది.
- ఇప్పుడు Cpuని బోర్డ్కి ఫిక్స్ చేద్దాం.
- Cpu ప్యాడ్ పైన ఫ్లెక్స్ పేస్ట్ వేసి, బ్లోవర్తో హీట్ చేయండి.
- Cpu డైరక్షన్ చూసుకొని Cpu ప్యాడ్పై ఉంచాలి.
- Cpu పైన కొన్ని ఫ్లెక్స్ పేస్ట్ని వేసి , బ్లోవర్ క్విక్ 857 Dw+తో హీట్ చేయండి.
- Cpu దానికి అదే కదిలి అదే సెట్ అవ్వాలి .
- అలా సెట్ అయితే , Cpu కూర్చున్నట్లు అర్థం.
- Cpu రీఫిక్స్ ముగిసింది.
- ఇప్పుడు బోర్డ్ను మొబైల్కి కనెక్ట్ చేసి, USB కేబుల్ని కనెక్ట్ చేసి, మొబైల్ ఆన్ అవుతుందో లేదో చూద్దాం .
- మొబైల్ విజయవంతంగా ఆన్ చేయబడింది.
- ఇప్పుడు ఫ్రంట్ కెమెరా ఆన్ చేయబడిందో లేదో చూద్దాము .
- ఫ్రంట్ కెమెరా విజయవంతంగా తెరవబడింది.
- కస్టమర్ హ్యాపీ.
వీడియో లింక్ క్రింద ఇవ్వబడింది :
https://youtu.be/GyMt6686VIA?si=guJepx7y9DzrdTH3
ధన్యవాదములు by team K.M.T.

